How to Set Up Your Local SWE-Agent Dev Environment in 5 Minutes (or less!)

Introduction
Imagine a tool that can dive into real GitHub repositories to debug and fix issues automatically. That's SWE-agent for you, a project born at Princeton University, where language models like GPT-4 are turned into software engineering agents. These aren't just toys either; they've shown to resolve over 12% of software issues tested in the SWE-bench dataset. While 12% might not initially seem high, it represents a significant leap from the previous benchmark of just 3.79%. This achievement marks a considerable advancement in the field, underscoring the growing potential of AI to transform software development and maintenance.
My journey into SWE-agent began with curiosity and a bit of a stumble. I wanted to set up a local dev environment to study the model's inference step but the project doesn't say how to set up such an environment! It's a familiar story in open-source projects, especially those with roots in academia. I encountered a mix of excitement and frustration, reading through the setup instructions in the README and realizing the commitment needed to even start. And I wasn't the only one feeling this way; a community issue highlighted similar struggles.
Deciding to lean into the challenge, I saw an opportunity to simplify this for everyone. While the official setup process is being refined, I've put together an alternative guide to get you up and running with SWE-agent in a local dev environment using dev containers.
All you need is Docker and VS Code!
This blog post is divided into two parts:
- The Setup: Walks you through step by step how to set up your own local dev environment
- How To Debug The Inference Step: Shows you how to pause the agent midway while it is solving a problem
Consider this the unoffical CONTRIBUTING.md to help you get started with SWE-agent 😀
The code for this guide is available on GitHub and has been tested on commit 580efbe.
Let's dive in!
The Setup
Step 1: Create a Makefile
Getting the SWE-agent project up and running involves several steps, each with its own set of commands and configurations. To streamline this process and minimize the potential for errors, we'll utilize a Makefile. This approach allows us to bundle the setup steps into simple, executable commands, making the entire process less prone to issues.
First, let's create the Makefile. Open your terminal and run:
touch makefile
This command creates an empty Makefile where we'll define our targets. Next, let's add the following targets to the Makefile:
-
create-keys-config: This target checks if a
keys.cfgfile already exists. If it doesn't, the target creates it and populates it with placeholders for various API keys. This file is used for configuring access to different models the SWE-agent might use.create-keys-config:
@if [ -f keys.cfg ]; then \
echo "keys.cfg file already exists. Skipping creation."; \
else \
echo "Creating keys.cfg file..."; \
echo "GITHUB_TOKEN: 'GitHub Token Here (required)'" > keys.cfg; \
echo "OPENAI_API_KEY: 'OpenAI API Key Here if using OpenAI Model (optional)'" >> keys.cfg; \
echo "ANTHROPIC_API_KEY: 'Anthropic API Key Here if using Anthropic Model (optional)'" >> keys.cfg; \
echo "TOGETHER_API_KEY: 'Together API Key Here if using Together Model (optional)'" >> keys.cfg; \
echo "AZURE_OPENAI_API_KEY: 'Azure OpenAI API Key Here if using Azure OpenAI Model (optional)'" >> keys.cfg; \
echo "AZURE_OPENAI_ENDPOINT: 'Azure OpenAI Endpoint Here if using Azure OpenAI Model (optional)'" >> keys.cfg; \
echo "AZURE_OPENAI_API_VERSION: 'Azure OpenAI API Version Here if using Azure OpenAI Model (optional)'" >> keys.cfg; \
echo "OPENAI_API_BASE_URL: 'LLM base URL here if using Local or alternative api Endpoint (optional)'" >> keys.cfg; \
echo "keys.cfg file has been created."; \
fi -
install-editable: This target is responsible for installing the SWE-agent package in an editable mode. This means any changes you make to the package's code will immediately affect the installed package, facilitating development and testing.
install-editable:
	@echo "Installing the SWE-Agent package in editable mode..."
	@pip install -e .
@echo "Installation complete." -
build-docker-images: This target runs a script to build the docker image that SWE-agent uses to run commands to attempt to fix an issue. Think of it as a sandbox for the agent to play in.
build-docker-images:
./setup.sh -
setup: This is the aggregate target that executes the previously defined targets in sequence, ensuring that your environment is correctly set up. By calling
make setup, you initiate the installation in editable mode, create the keys configuration file, and build the required Docker images.setup:
@make install-editable
@make create-keys-config
@make build-docker-images
Step 2: Create Dev Container Configuration
Now we create a file to configure the container that represents our development environment. This file is named devcontainer.json and is placed in the .devcontainer folder at the root of the project. This file will be used by VS Code to create a development container that encapsulates our development environment.
Here's how to set it up:
First, ensure you're in the root directory of your project.
Then, create the .devcontainer folder by running:
mkdir .devcontainer
Next, create the devcontainer.json file:
touch .devcontainer/devcontainer.json
Open the devcontainer.json file in your editor and paste the following configuration:
{
	"name": "Python 3",
	"image": "mcr.microsoft.com/devcontainers/python:1-3.12-bookworm",
	"features": {
		"ghcr.io/devcontainers/features/docker-in-docker:2": {}
	},
	"customizations": {
		"vscode": {
			"extensions": [
				"GitHub.copilot",
				"GitHub.copilot-chat",
				"GitHub.vscode-pull-request-github",
				"eamodio.gitlens",
				"ms-python.python",
				"ms-toolsai.jupyter"
			]
		}
	},
	"postCreateCommand": "make setup"
}
What's happening in this file?
-
Environment Selection: We're specifying
Python 3.12as the basis of our development environment. -
Development Tools: The
featuressection enables Docker-in-Docker, allowing us to create containers within the dev container. This is particularly useful for projects like SWE-agent since it requires building and running containers as part of their execution. -
VS Code Extensions: The
customizations.vscode.extensionslist includes several helpful VS Code extensions. These include GitHub Copilot for AI-powered code suggestions, GitLens for enhanced Git insights, the Python extension for improved Python language support, and Jupyter for working with notebooks. These extensions are automatically installed in the dev container, providing a rich development experience right out of the box. -
Automated Setup: The
postCreateCommandinstructs VS Code to runmake setupafter creating the dev container. This command executes our Makefile targets defined in the previous step, automating the environment setup within the container. This means that as soon as you start your dev container, it will be fully configured and ready for development work on SWE-agent!
By following these steps, you'll have a fully configured and consistent development environment that simplifies working with SWE-agent, ensuring that you can focus on development without worrying about setup inconsistencies or environment issues due to different platforms.
Step 3: Create a debug configuration
To debug the inference step of the SWE-agent, we need to create a debug configuration in VS Code. This configuration will allow us to set breakpoints in the code and launch the debugger to pause execution at those breakpoints.
To create the debug configuration, open (or create) the .vscode folder in the root of the project and create a launch.json file with the following content:
{
    "version": "0.2.0",
    "configurations": [
        {
            "name": "Debug run.py",
            "type": "debugpy",
            "request": "launch",
            "program": "run.py",
            "console": "integratedTerminal",
            "args": [
                "--model_name",
                "gpt4",
                "--instance_filter",
                "marshmallow-code__marshmallow-1359"
            ],
            "justMyCode": false
        }
    ]
}
This configuration sets up a debug session for the run.py script, which is the entry point for the SWE-agent inference step. It specifies the model name (gpt4) and an instance filter (marshmallow-code__marshmallow-1359) to use during the inference process.
marshmallow-code__marshmallow-1359 corresponds to issue #1357 i.e. the problem, and PR #1359 i.e. the solution, in the marshmallow repo.
You can adjust these values based on your requirements.
Step 4: Start the dev container
Simply call VS Code's command palette (Ctrl+Shift+P) and select Dev Containers: Rebuild and Reopen in Container:
 Figure 1: Starting SW-agent inside a dev container
This will reopen VS Code inside the dev container, where you can start working on the SWE-agent project.
Step 5: Update keys.cfg
Once the dev container is up and running, you'll need to update the keys.cfg file with the required API keys. Open the keys.cfg file and replace the placeholder values with your actual API keys:
GITHUB_TOKEN: 'GitHub Token Here (required)'
OPENAI_API_KEY: 'OpenAI API Key Here if using OpenAI Model (optional)'
ANTHROPIC_API_KEY: 'Anthropic API Key Here if using Anthropic Model (optional)'
TOGETHER_API_KEY: 'Together API Key Here if using Together Model (optional)'
AZURE_OPENAI_API_KEY: 'Azure OpenAI API Key Here if using Azure OpenAI Model (optional)'
AZURE_OPENAI_ENDPOINT: 'Azure OpenAI Endpoint Here if using Azure OpenAI Model (optional)'
AZURE_OPENAI_API_VERSION: 'Azure OpenAI API Version Here if using Azure OpenAI Model (optional)'
#OPENAI_API_BASE_URL: 'LLM base URL here if using Local or alternative api Endpoint (optional)'
How To Debug The Inference Step
Step 1: Set a breakpoint
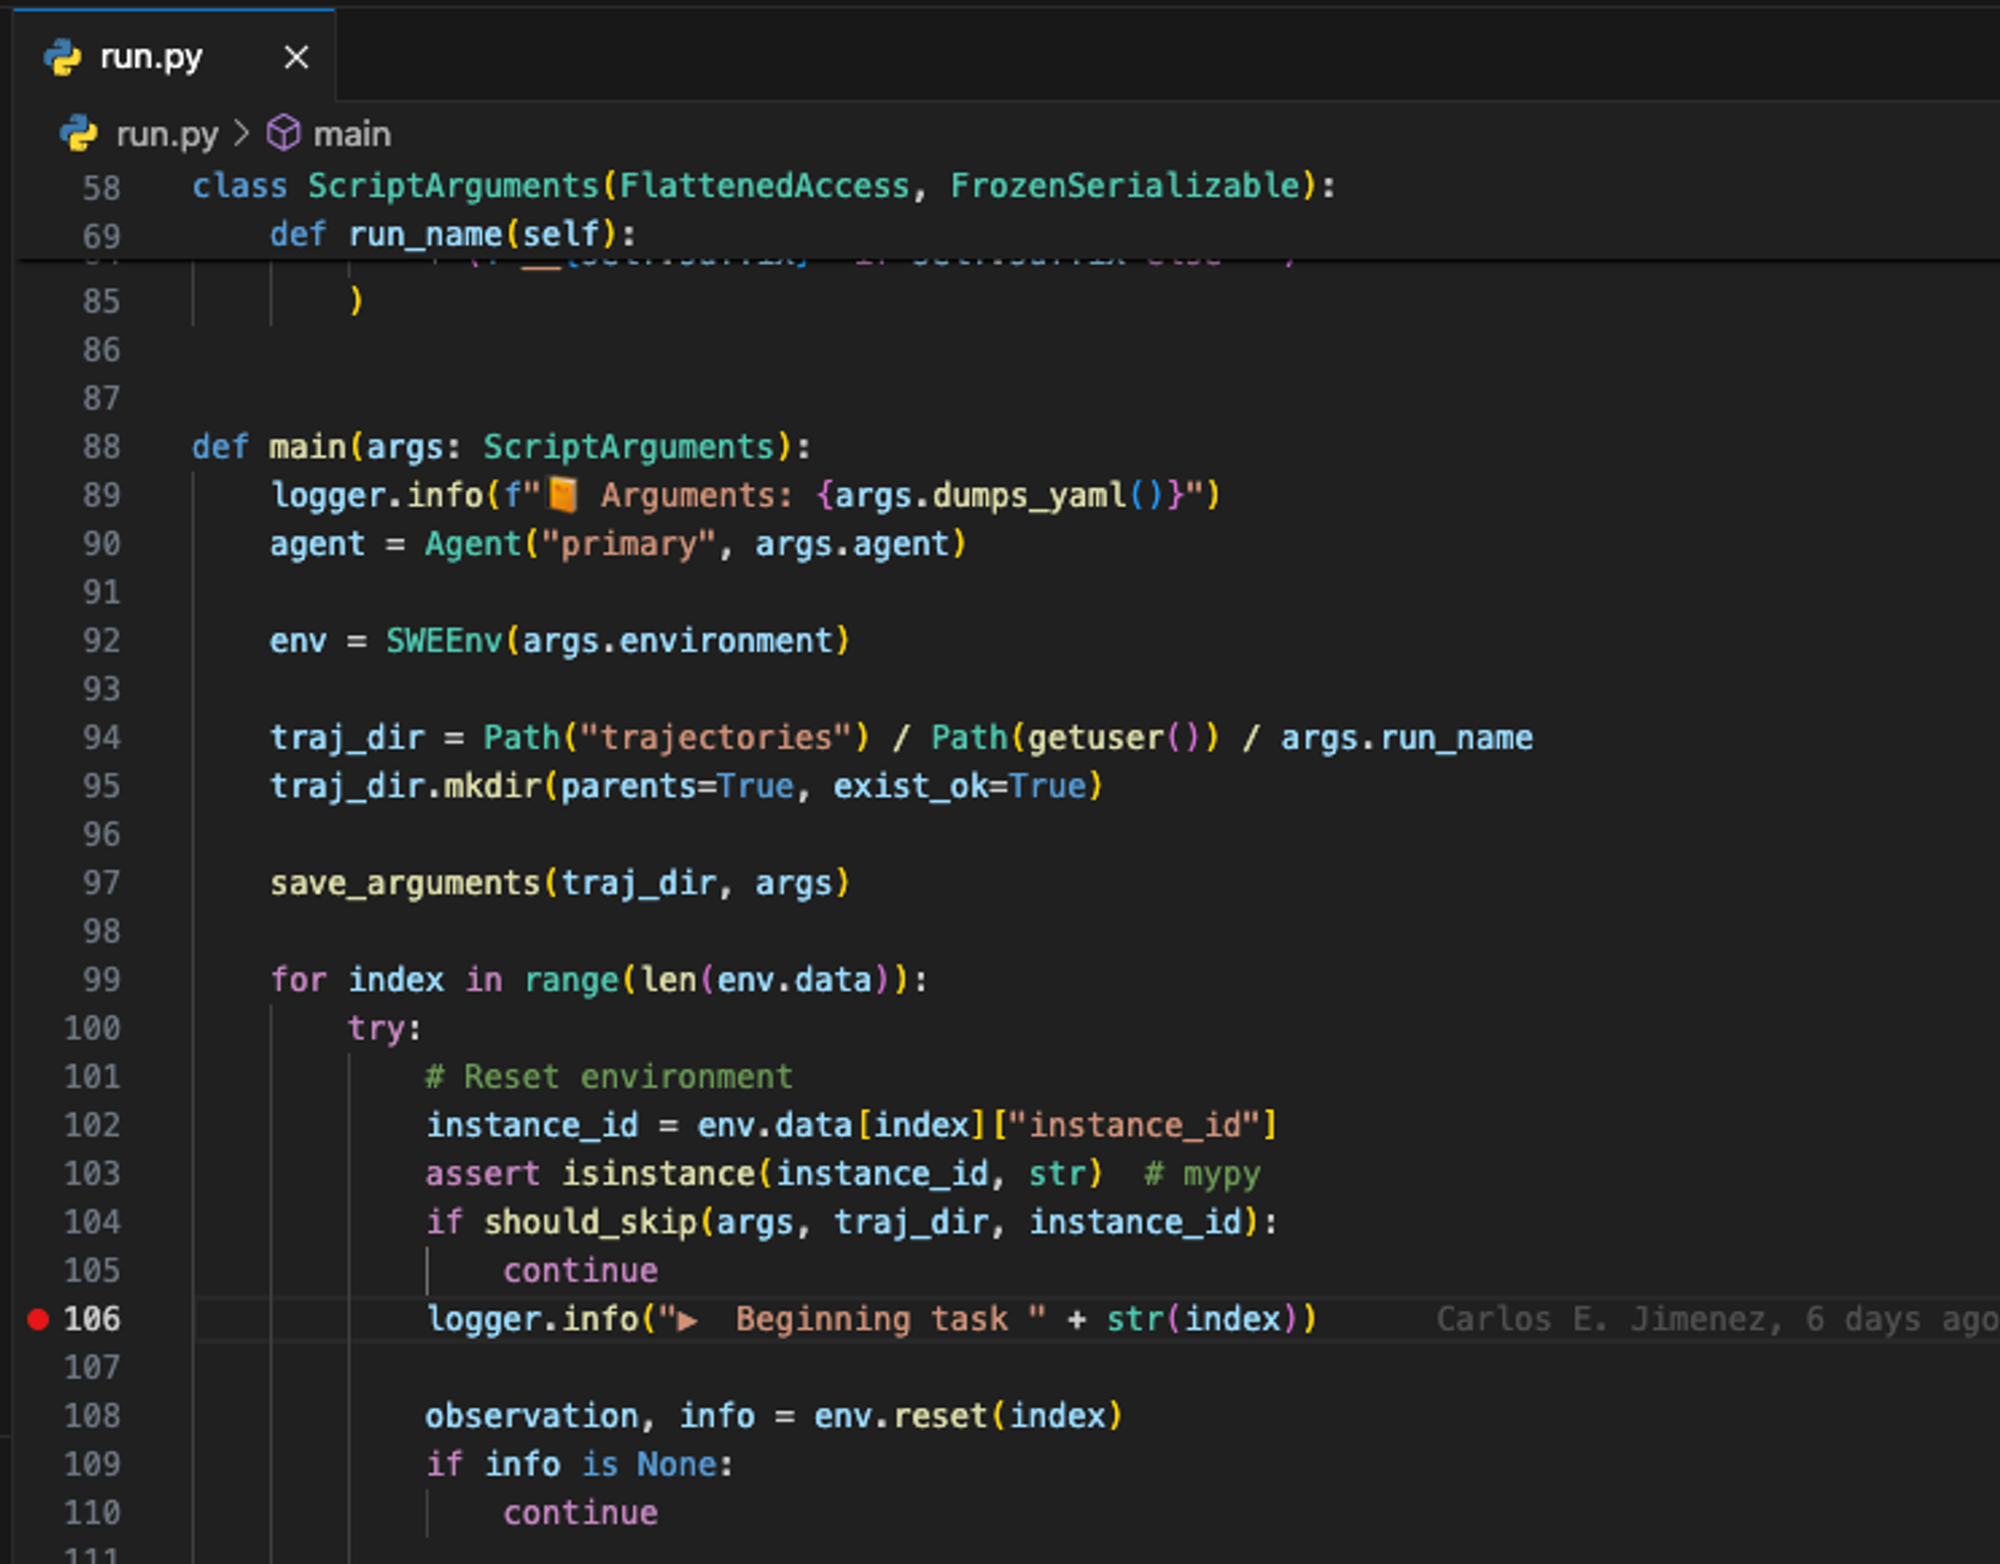
To debug the inference step of the SWE-agent, we need to set a breakpoint in the run.py script. Open the run.py file in VS Code and click on the left margin next to the line number where you want to set the breakpoint. A red dot will appear, indicating that a breakpoint has been set.
For example, here we set a breakpoint just before the agent starts solving the problem (line 106):
 Figure 2: Setting a breakpoint in
 run.py
Step 2: Launch the debugger
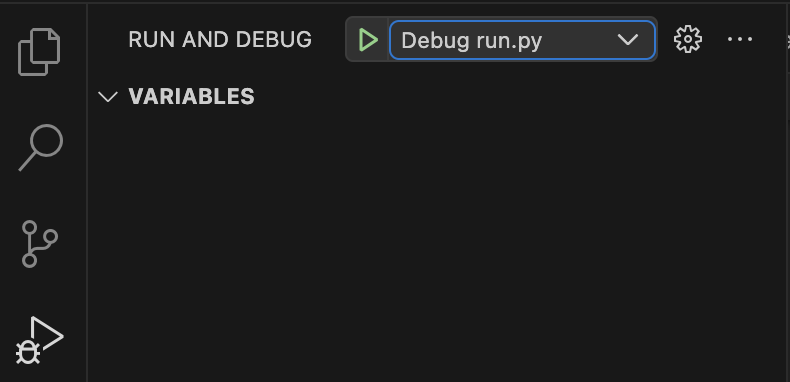
To start the debugger, click on the Run and Debug icon in the sidebar and run the "Debug run.py" configuration (or just press F5):
 Figure 3: Launching the debugger
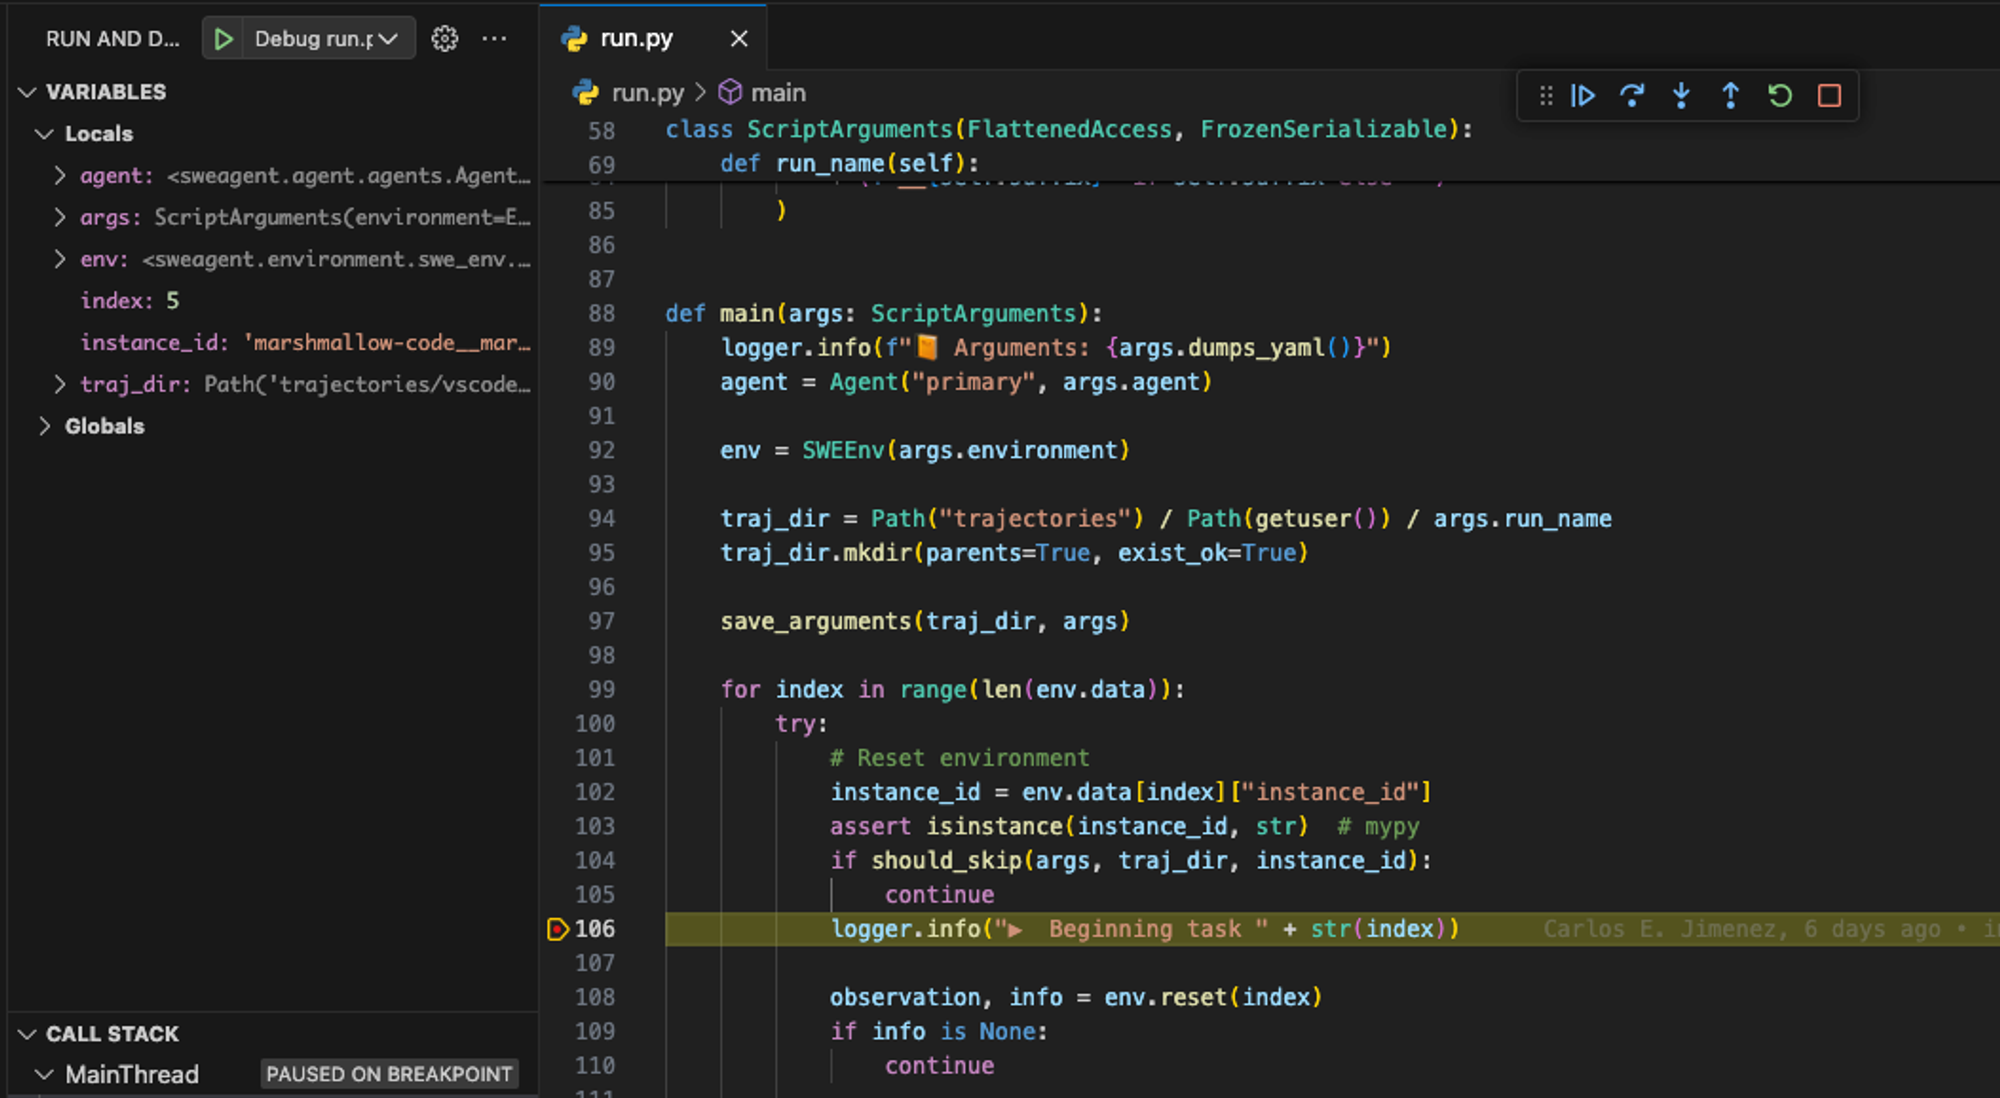
This will launch the debugger and pause execution at the breakpoint you set:
 Figure 4: Debugger paused at the breakpoint in
 run.py
You can now inspect variables, step through the code, and analyze the behavior of the SWE-agent during the inference step!
Conclusion
Our goal was to quickly get us set up with a local SWE-agent dev environment, and that's exactly what we've accomplished. You're ready to dive in. Happy hacking!
But there's an important insight to not gloss over. While many of us are already used to the concept of containerizing our solutions for production deployment, this guide sheds light on their value beyond just deployment — in the development phase. It demonstrates how containers can streamline not only how we deliver but also how we develop and test our applications.
Let this be the start of a broader exploration into how we can leverage containers to enhance every phase of our development workflow!
